Saturday, August 30, 2014

Newest Quilts

I have, I have, I have been sewing. Just not posting! Here are a few of my latest quilts. Forgive me, this is a long post.

 This is a quilt I made for my sister-in-law. She loves all things "peacock". I found the peacock panel in the center last year and decided that I would make her a throw.

I always thought that using panels would be a quick way to quilt. Maybe for some but not for me. I started with the panel and then I felt that because I used the panel I had to come up with some nice blocks. So first I made flying geese. Nice, but still didn't want to just add strips, so I made another block. This one was a little more complicated. I started with half square triangles and made them into
snowball blocks. I thought that the quilt was still too plain/small so I added larger quarter square triangles just on the sides, added a border on all sides and viola! I had a pieced top. All that was left was the quilting and sewing on the binding.


Here is a little pin cushion I made for one of my online quilt boards. We are swapping fabric each month on our birthdays. We always include a little extra gift. I don't know if you can make it out, but there is an embroidered "G" in the middle for the first letter of her name.


 Churn dash quilt. I was watching a video from Jennie Doan of Missouri Star Quilts and she made this cute little quilt. I was in the middle to another project, but since this was a quick quilt I allowed myself to be side tracked. It's done in red, white and black.
The Churn Dash block is similar to Lincoln's platform which is supposed to be a block made to assist the slaves during the underground railroad.
There are a lot of conflicting theories regarding it's use. I just like the block. I however do not think it is impossible that quilts were used for that purpose.


This one I call bricks. I made all the "bricks" using my Accuquilt Go. It's still one of my favorite things. It made it so easy to cut the blocks. All of them were the same size, cutting multiple blocks at once. I was on such a roll cutting the blocks, I made enough to do two quilts. Originally this quilt was supposed to be the center of a memory quilt but, plans change.

I thought it would be cute and sort of a play on the theme; family, house, bricks, you get the picture. Well this one didn't make it, but I do have the second one so we'll see.


Monday, June 9, 2014

Anatomy of a Memory Quilt Part 4


So know I get to the fun part of the memory quilt. The pictures. Using word processing software (I use Word), I insert the photos that I have previously scanned or were sent to me electronically into a blank document.


Once I have to photos I want, I usually insert more than I think I will need I print them on muslin which has been ironed onto freezer paper.

It is a very time consuming process; I trim the photos to size, add sashing between them and then add them to the quilt. There is a lot more to it, but I don't want to bore you.

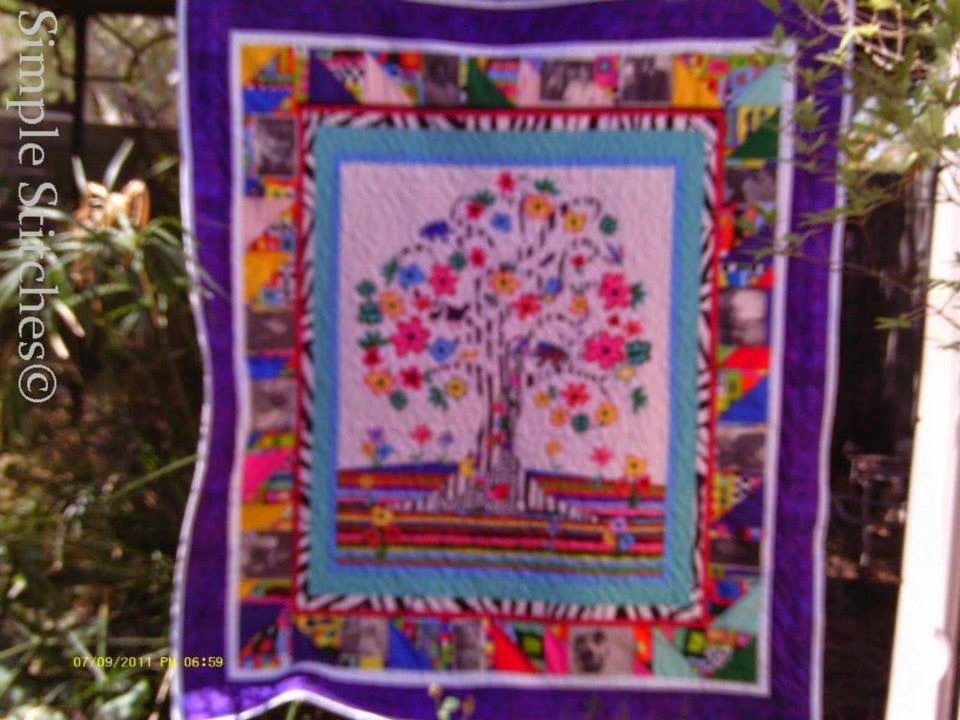
Anyway Ta Dah! Here is the finished top - the only thing left to do is to quilt it - making sure not to quilt over the photos and bind it; once the label is added then it will be on it's way to it's new home.


Tuesday, June 3, 2014

Anatomy of a Memory Quilt Part 3

The next part is the border. I decided to make them with half-square triangles.


I start out with charm squares, which are squares of fabrics 5 inches square. A light colored and a dark colored one are paired.
I chain piece them together which just means I stitched each of the squares together without lifting the foot of the sewing machine.
 Each square needs to be sewn 1/4 inch along each side.
After sewn each block is cut from corner to corner.
I use a cutting mat which is turns, it's really helpful so that I don't have to cut left-handed or move the square.
Then the magic happens, you open each corner press and trip the little dog ears. Easy peasy half-square triangles. I needed about 80 for this quilt.


Here's what they look like on the quilt. I added sashing between.


Sunday, May 25, 2014

Anatomy of a Memory Quilt Part 2

The first thing I do when starting a memory quilt is to try and figure out what the middle will look like. My first memory quilts were really simple, I just stitched blocks of the same size together. After my parents quilt where all the pictures were all over the quilt, I decided that having the pictures just along the borders worked better. I could either quilt or have the center quilted using a long arm machine, and "stitch in the ditch" around the photos. This is faster, more professional looking and stands up better.

As I became more proficient, I have used different blocks and preprinted panels for the center of the quilt. Still adding the photos just along the edge. For this quilt I decided to cut strips of fabric, sew them together to create a block called a pinwheel. There is another type of pinwheel which uses half square triangles, but these will use triangles.


I cut the fabric into 2-1/2 inch strips and sew a light and dark strips together. A medium sized quilt will usually need from 30 to 60 strips. 


After the strips are sewn together they are pressed open and cut into blocks. Depending on the size I can usually get four or five blocks out of each strip.


Four of the same fabric blocks are sew together to make larger blocks. When complete the larger blocks are about six inches. The six inch blocks are then sewn together to make the middle of the quilt.

At this point I decide if I like the size of the quilt or if I need to add more blocks. The center of this quilt measures 36x36. I added 4 inch sashing around the quilt. Next step, the half-square triangle border.

Stars and Stripes

Well the stars are all finished. I have been sewing strips together for the stripes for awhile. It's a big project made especially so because I am making up the pattern as I go along.


Hopefully I get the strips sewn together before July, otherwise this quilt will be for next year.

Tuesday, May 20, 2014

Anatomy of a Memory Quilt - Part 1

My journey with memory quilts began way back in 1998. I was watching Susan Sarandon and Julia Roberts in Step Mom. I think I can tell you the plot without fear of spoiling it because after all the movie was made back in 1998. Susan Sarandon's character was dying of cancer; Julia's character was the new wife. As a gift to her children Susan's character made a quilt and a cape for them. Both the quilt and the cape included photos and little mementos.


I, like a lot of quilters thought this was a wonderful idea. So began my research. How to get the pictures on the fabric; color versus black and white; will it be washable; can it be quilted?

After a lot of trial and error I have came up with my own recipe as it were. I use a laser printer to copy the photos on the fabric because I like black and white rather than color. For a couple of reasons, first I can then use photos from all time periods for a unified look, second with my process it is much cheaper than buying special fabric to use with inkjet printers.

This was my first quilt. I made it for my parents fiftieth wedding anniversary. We threw a party for them and it was displayed at the party. I sewed rows of photos together, stitched decorative stitching around each photo. It is not washable and the photos will rub off. I think I get better with every quilt I make. With anything it is a learning process. My quilts are still not washable, but will withstand daily use and spot cleaning. Thus far I have made ten for family and friends. I don't make many of them because they are very time consuming.


Sunday, May 4, 2014

My Stars

I always seem to go off on a tangent. This time I saw a Quilt for Valor pattern and fell in love with it. It is a simple pattern of stars and bars - sort of like a flag but different enough so that is is not just like a flag.
Here's the link for more information on quilts of valor http://www.qovf.org/; basically they are quilts given to service men and women as a way quilters have of expressing our thanks for their service.

Here's the quilt I fell in love with:


It is a simple pattern but with most quilts there is a lot of sewing involved. I spent the first weekend measuring and cutting the blocks - not the whole weekend but that's all I got accomplished.

Next time working on the quilt I spent making all the half-square triangles needed for the stars. I decided to make 14 star blocks so that's 112 half-square triangles. I also need 8 blocks for the center of the star and 4 more for the edges so 64 more squares.


Here's the pieces:

Sew the blocks together - I'm not going to go into too much detail about that part. You can probably figure it out by looking at the picture.


Then sew the rolls together and Voila! Star block, the total size of the block is 16 1/2 inches. Just 13 more to go, then I get to work on the strips. I need to figure out what size to cut 8 strips taking into consideration 1/4 inch sewing allowance and making them all even so that the final block is 16 1/2 inches.


UPDATE 

Well I have finished piecing the top, but with a couple of changes. By the time I finished piecing I realized how really large the top was and I was worried that if I added any more to it I would not be able to quilt it. At this point I have not decided to remove a row or two and add the borders like the sample or leave it as it. I'll have to live with it for a week or two. Which needless to say means that it will not be finished for July. Here's what I have so far, what do you think?